BLOG
Achieving Agile Hardware Development with Rapid Prototyping

Hardware engineering is very similar to software development, with one major difference: all of your decisions are cast in stone, and you fix your mistakes by soldering tiny wires, not Ctrl + Z.
With that in mind, how do you deliver quality IoT hardware on time and on budget? For us at Very, it’s all about the process.
In this post, we’ll explain how and why we use a 3D printer and a collaborative development process to engineer connected devices quickly and reliably.
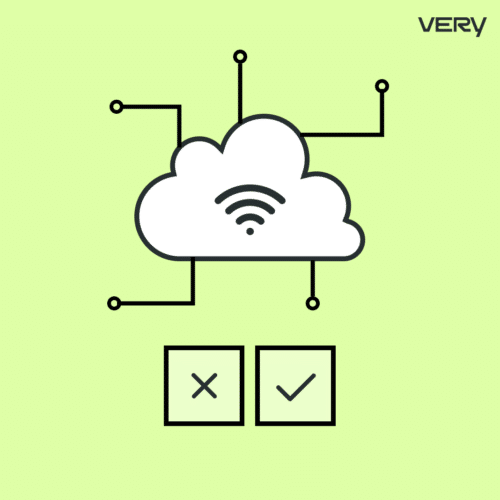
Waterfall vs. Agile for IoT Hardware Development
Typically, the IoT development process proceeds in a waterfall fashion, where you build out your hardware first, then write the software and firmware to complement it.
There are aspects of this approach that make sense. In an IoT device, the hardware and software depend on each other to deliver full functionality. So when you’re building that product, you need to start with something that you trust to operate the way you want it to, then build the other piece to match it. Otherwise, you can find yourself in a neverending loop where everything is a variable, spinning out project timelines and budgets.
If you have to start somewhere, starting with the hardware seems practical because, as mentioned earlier, it’s more set in stone. The last thing you want at the end of your project is to find out that your development boards don’t work with any of the software or firmware you’ve created.
By following this waterfall method, however, you’re still moving a lot more slowly than you would on a software-only project. Plus, you’re missing opportunities to identify potential obstacles earlier on – those kinds of challenges that only become apparent when you bring your hardware and software together.
Because time spent is our product, we’re always looking for ways to get the best results in the shortest amount of time, so we bring an agile approach to everything we do – hardware engineering included.
The most important principles of Agile development as we interpret them are:
- Continuously deliver value to end-users.
- Ensure features are production-ready before moving to new features.
- Test early and often.
- Make a decision at the last responsible moment, and not before
So, how exactly do you do hardware in an agile way? On top of that, how do you do hardware when, like us, you’re a fully distributed team?
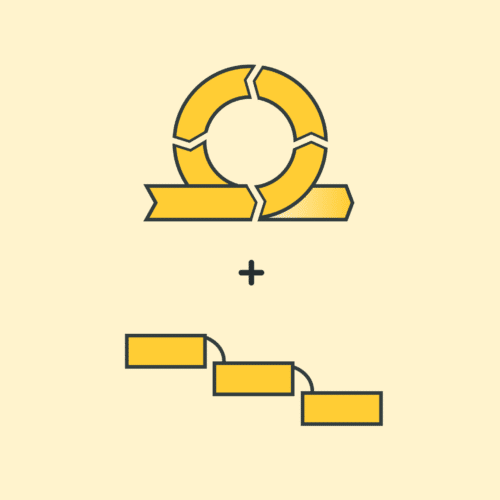
How We Do Agile for Hardware Engineering
Instead of trying to eat the whole elephant when it comes to hardware development, we use the agile approach and tackle the project in stages. This helps us to get important feedback throughout the design and development process that we can incorporate early on, leading to a better overall product.
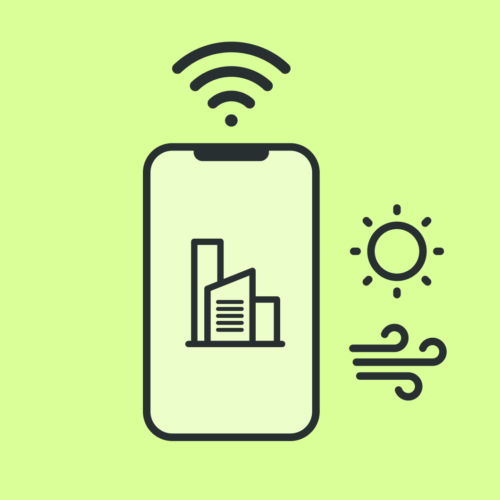
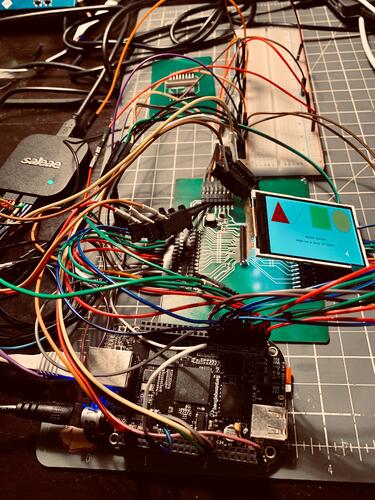
We start by building a bare minimum piece of hardware so that we can also start building the software that runs on that hardware. From there, we add the pieces that will make up the entire product, like LED lights, audio playback functionality, or the parts needed to enable a WiFi connection. With each piece of hardware added, we start working on the corresponding software and firmware, testing and incorporating feedback as we go.
Here’s where we might run into a challenge: our hardware and software engineers all work hundreds of miles away from one another. If we work in stages, each engineer will need a copy of the prototype board for each stage.
We could purchase and ship these boards to each engineer, sure – but that can add weeks and thousands of dollars to the project. That’s not a great solution for us or our clients.
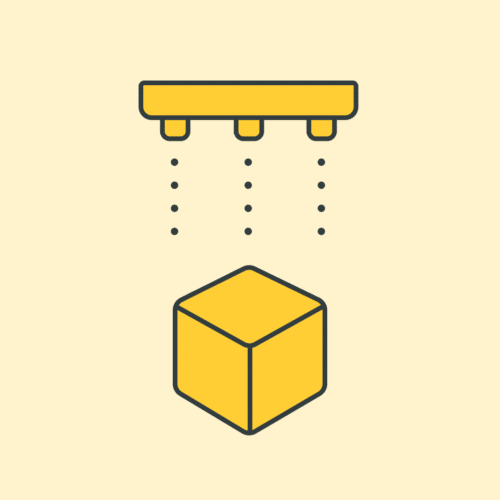
Using a 3D Printer for Rapid Prototyping
Instead of ordering board after board, we came across a simple, cost-effective solution: printing them at home.
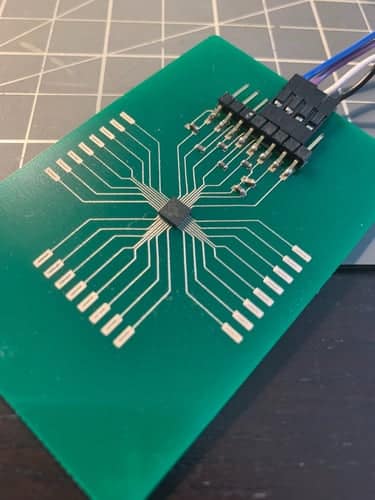
With a PCB 3D printer like the Voltera, we’re able to print out our own circuit boards at home. The printer takes a fiberglass material called substrate and lets us dispense silver conductive ink traces onto it, which allows us to create circuits. We can attach those circuits to a development kit like a Beaglebone using a specially designed PCB header.
This approach is much easier to do than the artful soldering that’s usually required to connect a board to a dev kit, which requires specialized skills and is more difficult to do on a distributed basis.
So, how much faster does the 3D printer make us? I’ve got a fun example.
On a recent project, the device we were building needed to use LED lights, and I wanted to get an idea of what the LED ratings would look like. I’m a software engineer with some electrical engineering (EE) background, and I didn’t want to take up any of our EE team’s valuable time to have them figure this out for me.
So, I designed my own board. I had to describe to my computer what the footprint of the board would be and describe all the pads, their positions, and which pads the power and the ground would connect to. It’s like designing software but in a hard fashion.
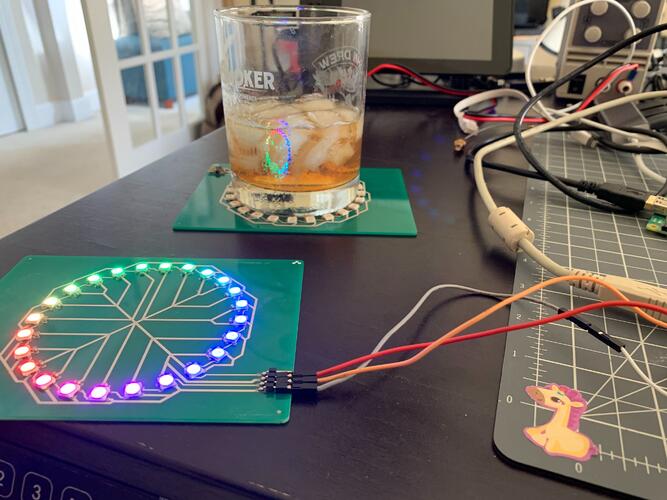
Then, I printed the board, plugged it into power, and immediately witnessed the most beautiful fireworks display I’ve ever seen. (For those who may be less technical, that’s not supposed to happen.) After blowing away the smoke, I quickly realized that I had made a rather foolish mistake: I’d accidentally swapped the power and the ground pins.
Luckily, I had the 3D printer. Once I’d realized my error, it took me about 30 minutes to correct it, and another couple of hours for the new board to print. When it was complete, I plugged it in and it worked beautifully. (The old one, I found, makes a wonderful coaster for a whiskey glass.)
The moral of the story? Within 24 hours I was able to make a silly EE move, see that I made that mistake, modify the original design to fix it, and then see and prove that I fixed that problem. Without this innovation, that same process could have taken weeks or even months.
After printing a successful board, I was able to write a driver on top of it to give the firmware engineers downstream of me an interface that they can now program against, helping them to understand how their firmware will interact with this chip when it’s finally available.
From this simple exercise, every team member is now unblocked, and when it comes time for us to stand up the boards for the first time, all of the unknowns about the parts and the circuitry will have already been validated. We’re removing uncertainty early in the project and saving ourselves (and our client) a lot of time down the line.
Looking for an IoT engineering firm with extensive experience in agile hardware development? Tell us about your project today.